Tuesday, March 20, 2012

Inspiration from an Oak Barrel (Continued)

Once again I have been pretty busy and haven't had a chance to update my last post. I still don't, but I am going to post the rest of the photos I have of the protection I made for the tank as well as the tank cover. I am pretty happy with the results. Enjoy!


Here are the photos of making the tank cover from scratch.


 I'm ready for testing. I honestly don't know when I am going to find the time to do it, but it will get done soon! After that, Ill build the actual lower end and add all the finishing touches to the system then get it inspected!

Tuesday, March 13, 2012

Inspiration from an Oak Barrel

*This post is going to be short because I am having trouble uploading all the pictures right now. Once the photo upload is fixed I will post the second part of this update.*
My first design for a floor was to simply put down plywood under the tank and a small section on the back side of the frame. I cut a short section of board and was actually a little disgusted on how it changed the look of my design. The clean curves of the frame were rudely interrupted by the flatness of the board.


So, I sat down and contemplated other design possibilities. I could use a metal sheet, but I didn't like that look either. It was a little harsh. I knew I wanted this section of the frame to have the character that only wood can bring. Part of my inspiration behind the design I decided on came from an old oak barrel I saw when driving through Napa, California. Something about the curve and the way it was built was interesting to me. Not to mention the shape mimicked the tanks appearance and offered a great deal of protection from all sides. Instead of buying a barrel and trying to make it fit I decided to make my own slightly modified version. The thing to keep in mind is that this design really isn't a floor in the traditional sense, rather it is a way to protect the tank from possible impact from rocks or other objects that could puncture or damage the tank.

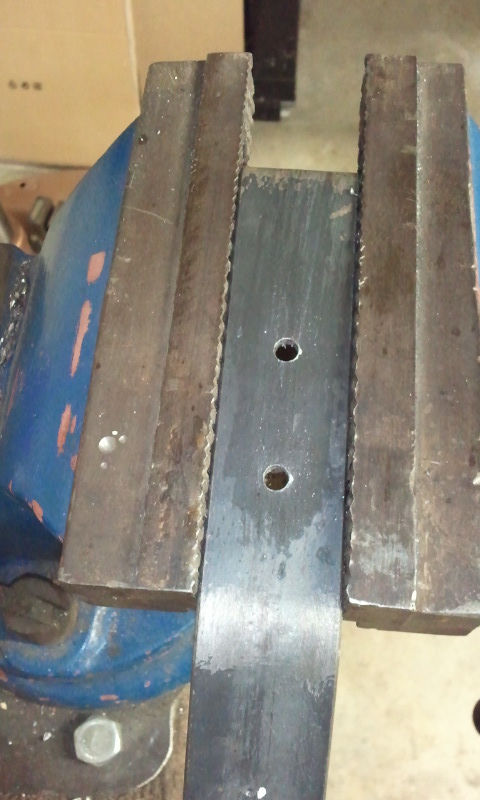
Since the general design idea was already in my head, I went to the hardware store and bought some 1x4 boards. These aren't hardwood boards but I don't care because if one gets damaged Ill replace it for under $2. Not to mention it will still provide a great deal of protection to the tank.
To get a better visual of what I was going to build I decided to mock up the pieces. One ratcheting strap on the floor, lining the boards up and voila! My design is done! Kinda...


I tried one last time to upload the rest of the pictures but I am still having troubles. Check back soon for the finished update.

Thursday, March 8, 2012

A few brackets

I managed to sneak in a few hours of fabrication this week. I added in the gussets under the seat and the X-brace on the back of the frame. Here are a few pictures.

Lining up the gusset under the seat (frame is on its back)
 Welded into place
Before....
Half of the X-brace.....

3/4....
The completed X-brace!

I am going to weld the carabiner (suspension) brackets into place this weekend so expect another update by Monday. Also, I came up with a pretty unique design for a floor/tank protection which I am pretty excited about. I don't know if I will get to it this weekend but definitely expect to see it finished by mid week.

Monday, March 5, 2012

A Place To Sit

I've been making progress slowly over the last two weeks unfortunately most of that progress was finding a place to purchase the Chromoly steel for the final frame. I did manage to make a seat frame and mounted the seats to the main part of the frame.

The seat framework made out of 3/4" round tubing

 Lining up the seats on the main part of the frame


Tack welding the framework in place
 Welding on some supporting brackets.
 Rear portion of the vertical support
 Everything in place!
 So I got the seats bolted on and this thing is looking good!

I threw the burner on just to see what it looks like. I will be making my own burner brackets and the burner will be sitting a few inches higher than it is in the photo.
I only have a few more things to complete for the prototype and I am hoping to complete it this weekend. All I have left is a few support brackets, burner mounts, plywood floor and wood skids. Check back in a week for another update. 

Oh, and of course I need to leave you with one last photo....