
This blog will follow my experience building my first home-built experimental hot air balloon.
Tuesday, May 29, 2012
KEEP YOUR FINGERS CROSSED!
I have been patiently (and at times impatiently) waiting for my final frame to be built. Well I just got the call....it is happening this weekend. So like the title of this post says...keep your fingers crossed that nothing changes! It has been FAR TOO LONG of a wait to complete this project and I am eager to get this thing in the air!
Sunday, April 15, 2012
Tested the Frame
I managed to test the frame this weekend. Here are a few pics and videos of the load test and drop test. I loaded the frame with over 800 pounds of sand. I figured if it could handle a few hundred pounds over what I will carry, it should be fine. These weren't the only tests I did, but my phone died before I finished recording all the testing.


Here are the videos I shot of the testing.
http://www.youtube.com/watch?v=2JdBBMjVq10&feature=youtu.be
http://www.youtube.com/watch?v=lx8Mkj4I42Q&feature=youtu.be
Everything worked out great. The frame was straight, there weren't any cracks or broken welds. I am hoping to schedule having the final frame built in the next few weeks. I will post an update when I have it completed.
Thursday, April 5, 2012
Random Accomplishments
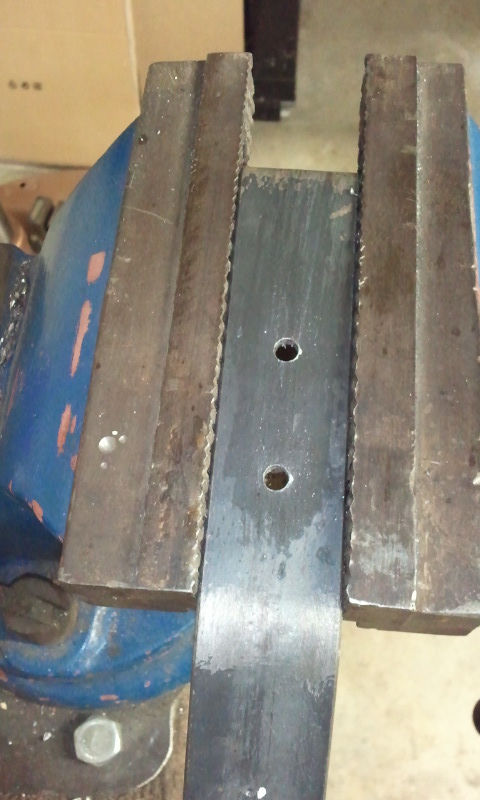
I am getting closer to being finished but the progress has been slowing down. I am scraping together small amounts of time to make as much progress as I can but things are slow going right now. I have managed to get the carabiner brackets welded onto the frame, began working on the burner mounts and frame and I made some progress on the inflation fan shroud. Here are the photos.
Bracket photos.....


The burner frame modifications.....


Finally, the progress on the inflation fan....


Bracket photos.....


The burner frame modifications.....


Finally, the progress on the inflation fan....


Tuesday, March 20, 2012
Inspiration from an Oak Barrel (Continued)
Once again I have been pretty busy and haven't had a chance to update my last post. I still don't, but I am going to post the rest of the photos I have of the protection I made for the tank as well as the tank cover. I am pretty happy with the results. Enjoy!


 Here are the photos of making the tank cover from scratch.


I'm ready for testing. I honestly don't know when I am going to find the time to do it, but it will get done soon! After that, Ill build the actual lower end and add all the finishing touches to the system then get it inspected!


I'm ready for testing. I honestly don't know when I am going to find the time to do it, but it will get done soon! After that, Ill build the actual lower end and add all the finishing touches to the system then get it inspected!
Tuesday, March 13, 2012
Inspiration from an Oak Barrel
*This post is going to be short because I am having trouble uploading all the pictures right now. Once the photo upload is fixed I will post the second part of this update.*
My first design for a floor was to simply put down plywood under the tank and a small section on the back side of the frame. I cut a short section of board and was actually a little disgusted on how it changed the look of my design. The clean curves of the frame were rudely interrupted by the flatness of the board.

So, I sat down and contemplated other design possibilities. I could use a metal sheet, but I didn't like that look either. It was a little harsh. I knew I wanted this section of the frame to have the character that only wood can bring. Part of my inspiration behind the design I decided on came from an old oak barrel I saw when driving through Napa, California. Something about the curve and the way it was built was interesting to me. Not to mention the shape mimicked the tanks appearance and offered a great deal of protection from all sides. Instead of buying a barrel and trying to make it fit I decided to make my own slightly modified version. The thing to keep in mind is that this design really isn't a floor in the traditional sense, rather it is a way to protect the tank from possible impact from rocks or other objects that could puncture or damage the tank.
Since the general design idea was already in my head, I went to the hardware store and bought some 1x4 boards. These aren't hardwood boards but I don't care because if one gets damaged Ill replace it for under $2. Not to mention it will still provide a great deal of protection to the tank.
 To get a better visual of what I was going to build I decided to mock up the pieces. One ratcheting strap on the floor, lining the boards up and voila! My design is done! Kinda...


I tried one last time to upload the rest of the pictures but I am still having troubles. Check back soon for the finished update.
My first design for a floor was to simply put down plywood under the tank and a small section on the back side of the frame. I cut a short section of board and was actually a little disgusted on how it changed the look of my design. The clean curves of the frame were rudely interrupted by the flatness of the board.

So, I sat down and contemplated other design possibilities. I could use a metal sheet, but I didn't like that look either. It was a little harsh. I knew I wanted this section of the frame to have the character that only wood can bring. Part of my inspiration behind the design I decided on came from an old oak barrel I saw when driving through Napa, California. Something about the curve and the way it was built was interesting to me. Not to mention the shape mimicked the tanks appearance and offered a great deal of protection from all sides. Instead of buying a barrel and trying to make it fit I decided to make my own slightly modified version. The thing to keep in mind is that this design really isn't a floor in the traditional sense, rather it is a way to protect the tank from possible impact from rocks or other objects that could puncture or damage the tank.
Since the general design idea was already in my head, I went to the hardware store and bought some 1x4 boards. These aren't hardwood boards but I don't care because if one gets damaged Ill replace it for under $2. Not to mention it will still provide a great deal of protection to the tank.


I tried one last time to upload the rest of the pictures but I am still having troubles. Check back soon for the finished update.
Subscribe to:
Posts (Atom)